
You press the button, the door starts down, and then it stops halfway and shoots back up. You try again. Same thing. Maybe the opener’s light blinks a few times, or the door closes only if you hold the wall button down the whole way.
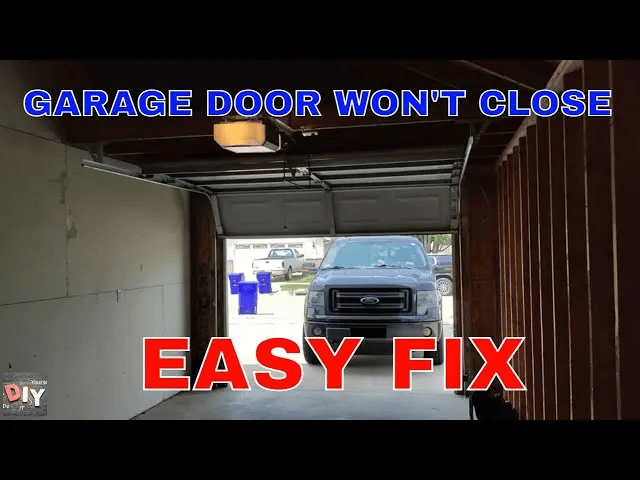
Before you call a garage door company (a service call typically runs well over $100), check the two small sensors near the floor. In a lot of cases that’s the whole problem, and the fix takes a couple of minutes.
Thanks for reading Homeowner Help! Subscribe for free to receive new posts and support my work.
What those sensors do
Every garage door opener made since 1993 in the U.S. is required to have a safety feature that stops and reverses the door if something is in its path. Most use a pair of photo-eye sensors, one on each side of the door, about 4 to 6 inches off the floor. One sends an invisible beam across the opening, the other receives it. If the beam is interrupted, the opener assumes something (a kid, a pet, a bike) is in the way and reverses the door.
So “the door reverses on its own” usually doesn’t mean the opener is broken. It means the opener thinks the beam is blocked, or can’t see it at all.
Step 1: Look at the sensor lights (1 minute)
Each sensor has a small LED. What you see tells you a lot (colors vary by brand, so check the label on yours):
- Both lights steady: the beam is fine. The problem is probably elsewhere (see Steps 4 and 5).
- One light off, dim, or flickering: the sensors are misaligned, dirty, or one has lost power or has a wiring problem.
- No lights at all: check that the opener is plugged in and the outlet works, then check the thin wire running from each sensor to the opener.
Step 2: Clear and clean (2 minutes)
- Move anything near the sensors: a bin, a bag, a rake leaning against the wall.
- Wipe each lens with a soft cloth. Dust, cobwebs, and dirt can block the beam.
- Check for direct sun hitting a sensor lens. Strong sunlight at certain times of day can confuse the receiving eye. If the problem only happens in the afternoon, that’s a big clue. A short cardboard tube or a small shade taped over the lens can help.
Test the door. If it closes, you’re done.
Get the garage door lubricant here:
Garage Door Lubricant
Step 3: Realign the sensors (5 minutes)
Sensors get bumped by lawn equipment, cars, or kids, and even a slight tilt breaks the beam.
- Look at each sensor. They should point straight across at each other, level and square.
- Loosen the wing nut or bracket screw holding one sensor, and adjust its angle by hand until its LED turns steady and bright.
- Tighten it, then check the other side.
- Both lights should be steady. A piece of string stretched between the two sensors at the same height is a quick way to see if they’re level.
- Test the door a few times.
If a bracket is bent or loose and can’t hold position, a new sensor pair runs roughly $25 to $50 and is an easy swap on most openers.
Step 4: Check the wiring
Follow the thin two-wire cable from each sensor up to the opener. Look for:
- Staples that have pinched or cut the wire
- Chewed spots (mice love this wire)
- Loose connections at the sensor terminals or at the opener’s back panel
Re-attach any loose wire, and if the insulation is damaged, replace that section of wire.
Safety note: unplug the opener before touching any terminals at the back of the unit. And never stand on a chair or ladder while the door is moving.
Step 5: If the sensors are fine
If both lights are steady and the door still reverses, or it closes and then pops back up when it touches the floor, the cause is probably one of these:
The close-force or travel limit is set wrong. Most openers have adjustment screws or buttons for how far the door travels down and how much resistance it will accept before reversing. If the limit is set too far down, the door hits the floor, thinks it hit an obstacle, and reverses. Your owner’s manual shows the adjustment. If you’ve lost it, search the model number on the opener’s label for a PDF online. Make small adjustments and retest each time.
The door is binding, or out of balance. Disconnect the opener (pull the red emergency release cord with the door closed) and lift the door by hand. It should lift smoothly and stay put around halfway, without crashing down or flying up. If it’s heavy, uneven, or won’t stay in place, the springs are the problem. Don’t touch the springs or cables yourself.Torsion springs are under extreme tension and cause serious injuries every year. This is a professional job.
The remote works but the wall button doesn’t, or the reverse. Replace the remote battery first. If the wall button fails, check its wires for the same damage as in Step 4.
The reversal test (do this twice a year)
This is the one safety check every homeowner should know:
- With the door fully open, place a 2×4 board flat on the floor in the door’s path.
- Close the door. When it touches the board, it should stop and reverse immediately.
- If it doesn’t, stop using the automatic close, and call a technician. The safety reverse is not working, and that’s a danger to kids and pets.
You can also test the sensors: while the door is closing, wave a broom handle through the beam. The door should reverse right away.
Call a pro if…
- The door is crooked, off its track, or makes loud grinding or banging noises
- You can see frayed cables or a broken or gapped spring
- The door falls or won’t stay up when lifted by hand
- The safety reverse fails the 2×4 test even with working sensors
Before you go
Check the sensors, wipe the lenses, and realign them. Most of the time, that’s it. And do the board test while you’re out there, because it takes a minute and it’s the safety check that matters most.
Next up: the thermostat that says one temperature while the house feels like another, and the simple checks that can fix it before you buy a new one.
Talk soon, Homeowner Help


Leave a Reply